Applies only to 1st Gen Dodge Neons
taken from my original how to
http://forums.neons.org/viewtopic.php?t=258060&highlight=
______________________________
Required items:
Phillips (flexible type will help)
T15
T9
Both Clusters
About 30 minutes if you want to do it right.
Pop off the dash (grab the part right above the cluster and just push up. It will pop off and then just pull it towards you) and remove the 4 phillips screws holding the cluster in. Once you remove the 4 phillips screws just pull back on the cluster and it will pop of. Then pop the new one in. If you want to swap the odo continue reading.
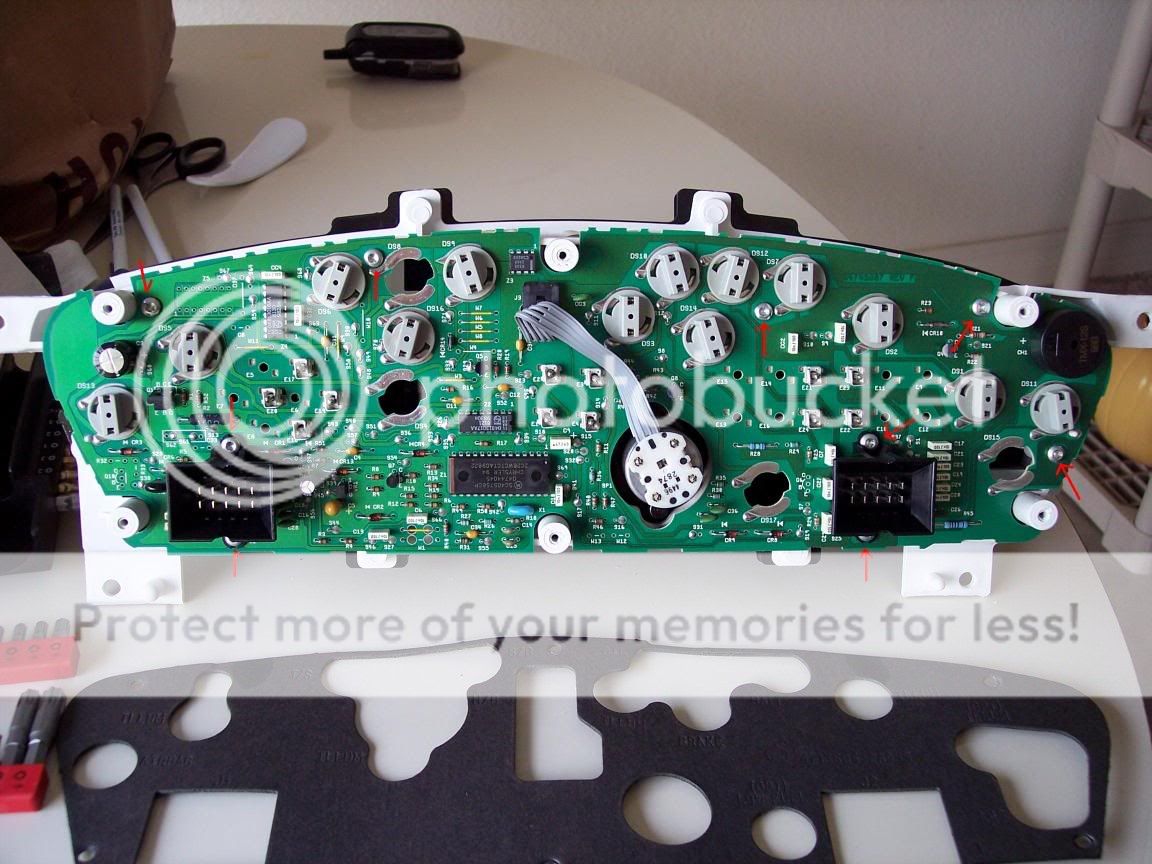
Flip it over to where the black paper is and get a T15 to remove all the screws holding on the paper.
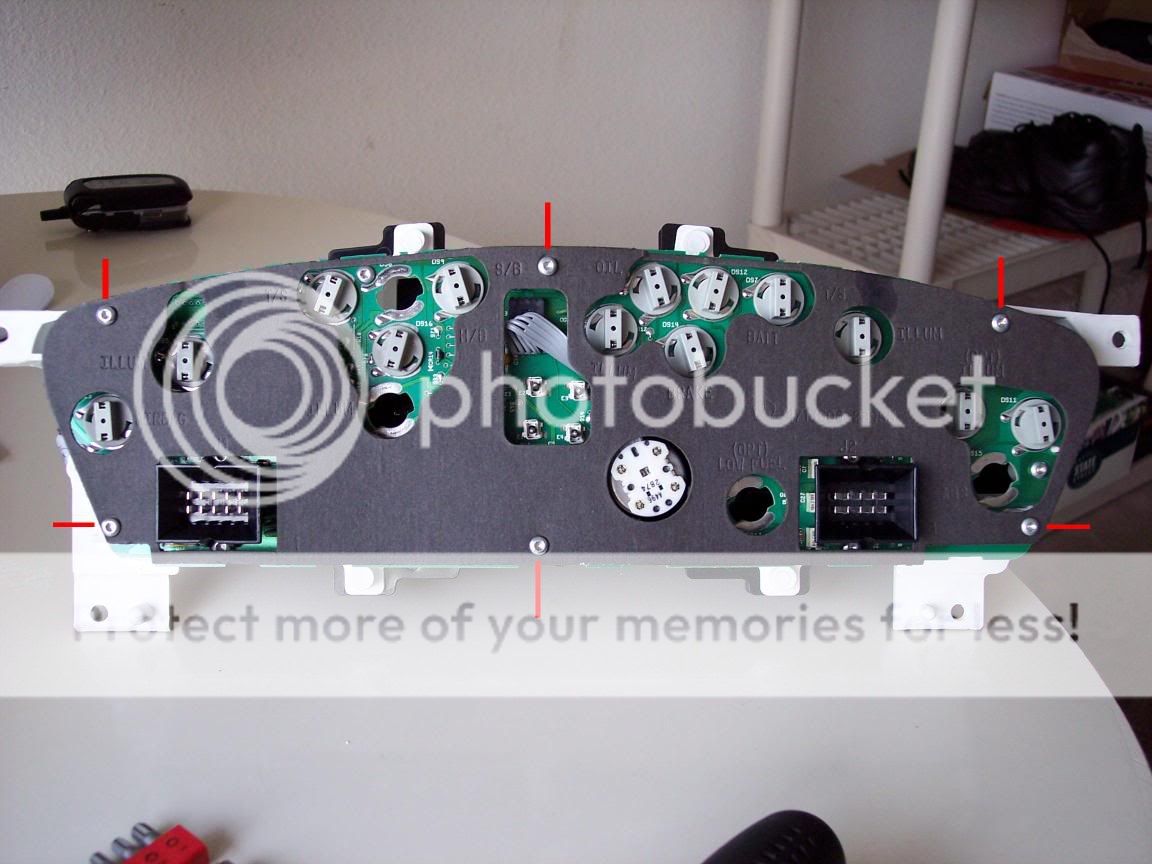
Once you remove the paper there are a few more T15 screws you have to remove. Unscrew them all including the ones by the black plastic connectors.
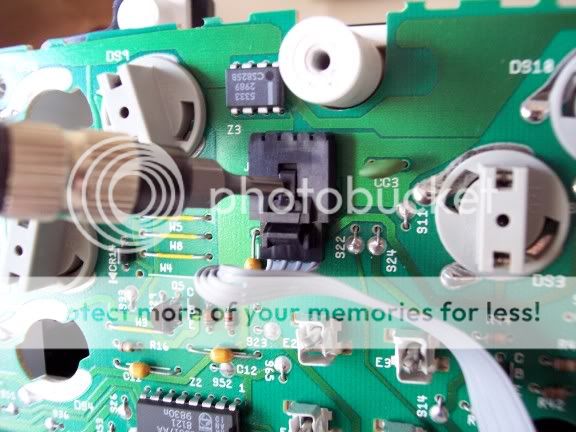
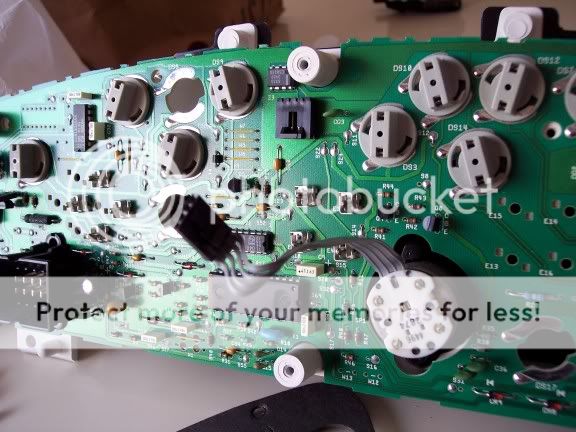
Now remove the gray odo cable. Just push in the little pin and slide it out.
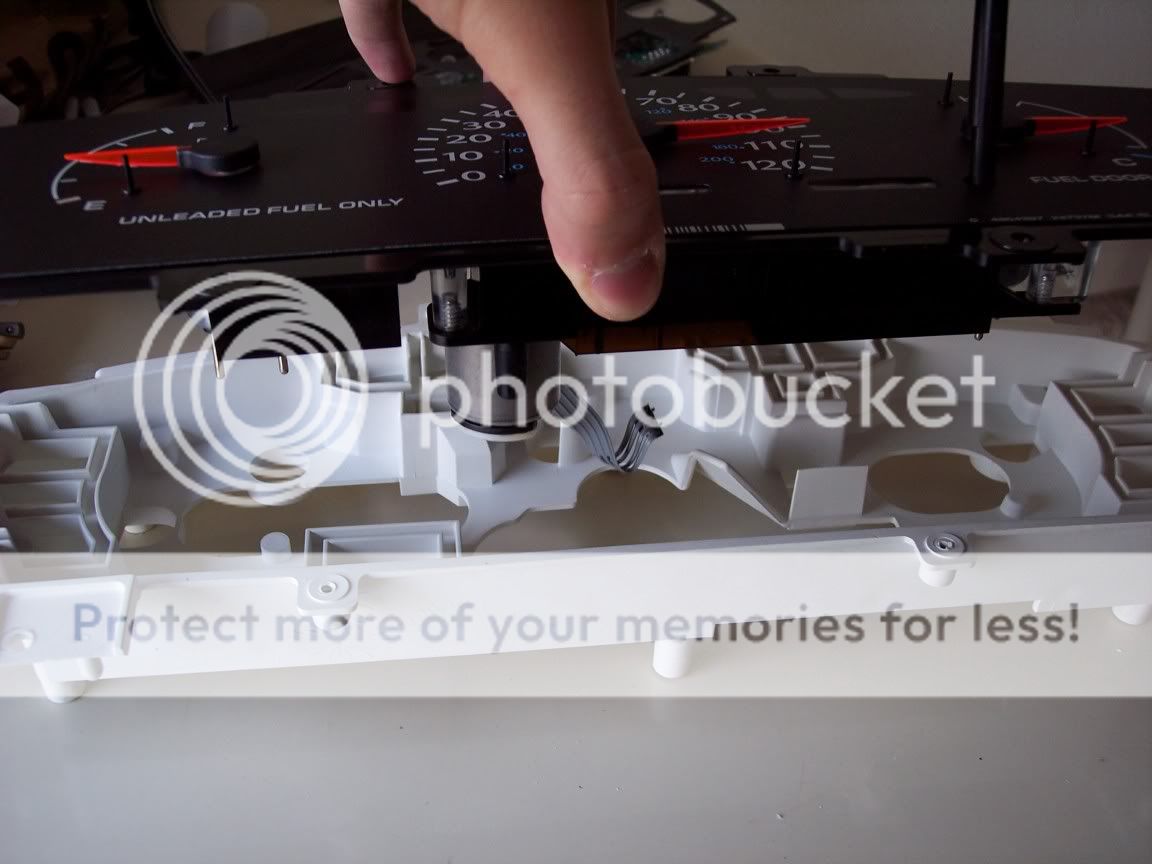
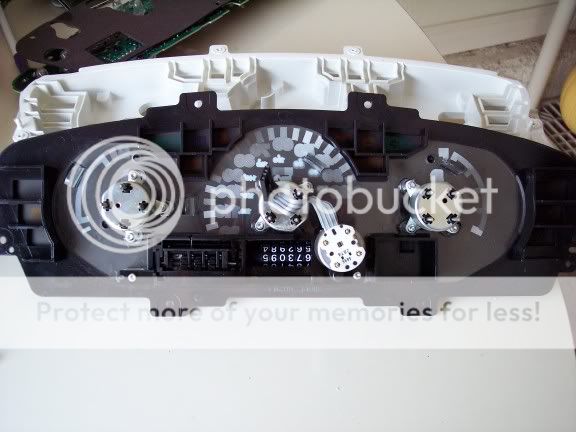
Once all the screws are out, you need to lift up the circuit board. Be very gentle with this and lift up the left, middle, right, left, etc.. Some clusters are harder than others to lift. Just be careful not to crack it.


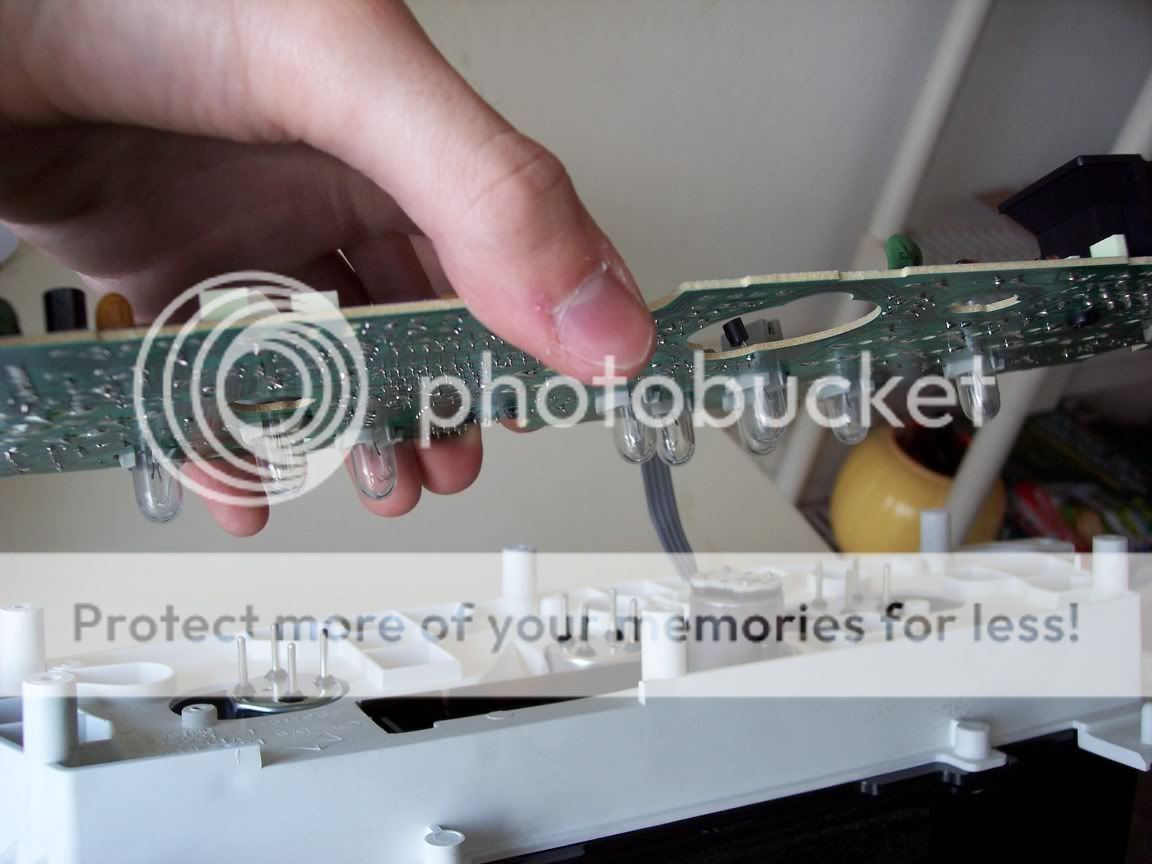
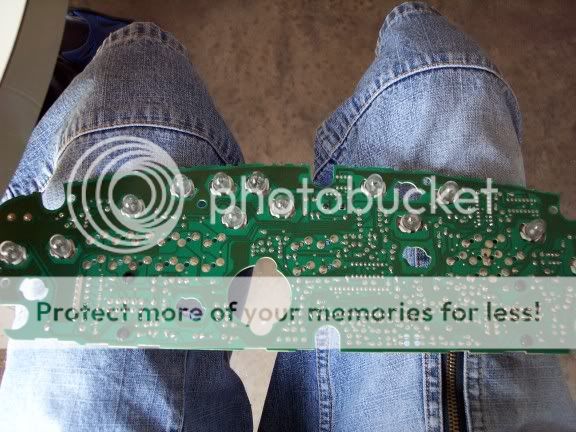
Once the board is removed put it in a safe place. The board itself.
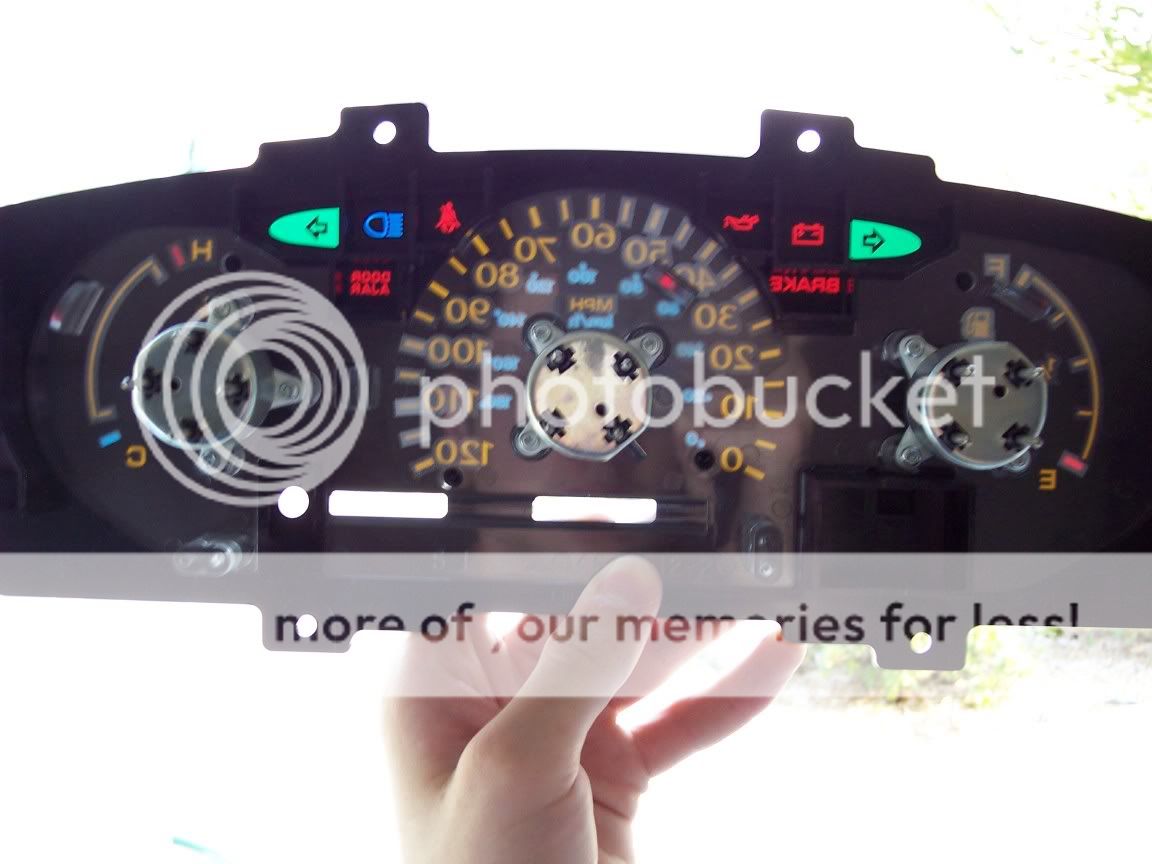
Now flip over the entire unit and remove the T15 screws around the clear plastic cover. There is one hidden in the foam.
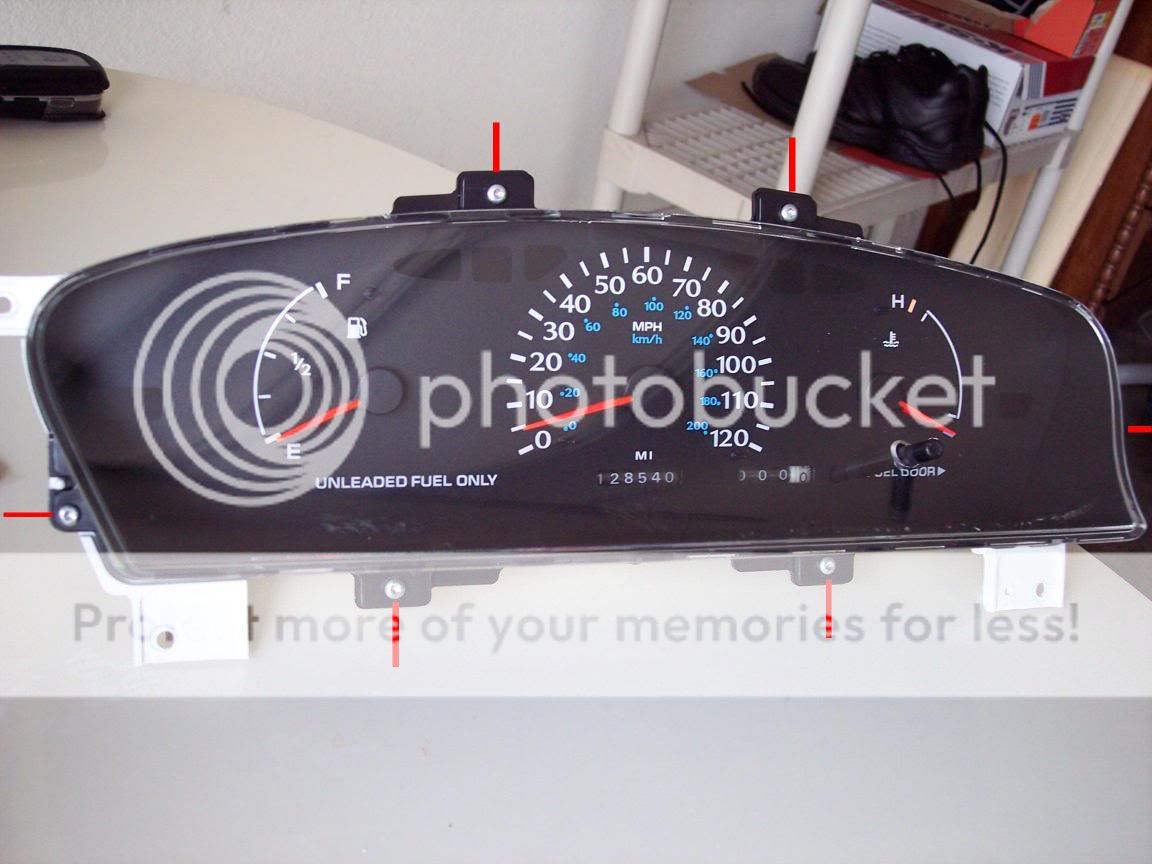
Remove the clear lens.
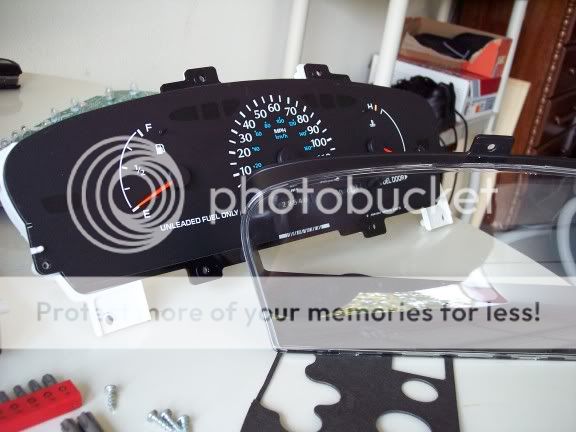
Now you can seperate the black part from the white part. Just pull up on it.
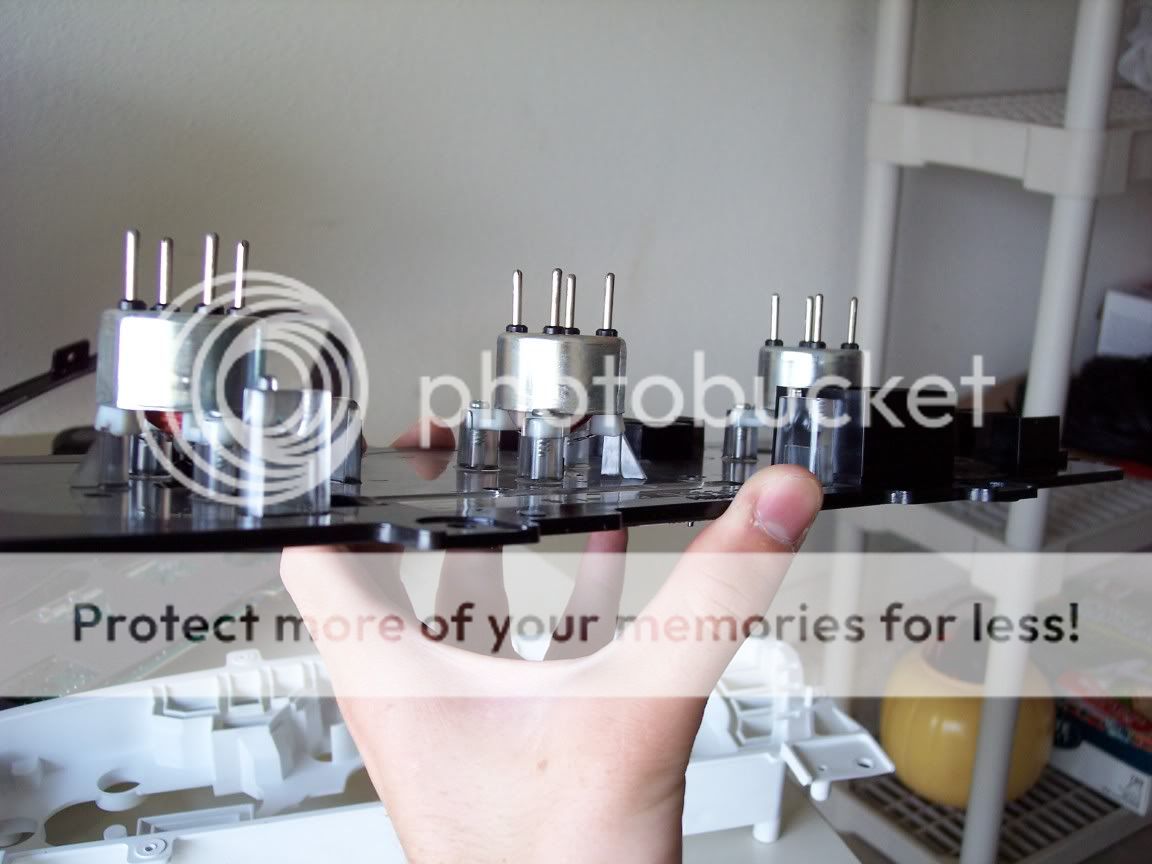
You should be able to see all your "see through black parts" with light shining through it. Look on the back and you will see the odometer (mile counter).
Look at the front and you will see the black push thing to reset the trip odo. Pull off the front of it. It will slide off fairly easy.
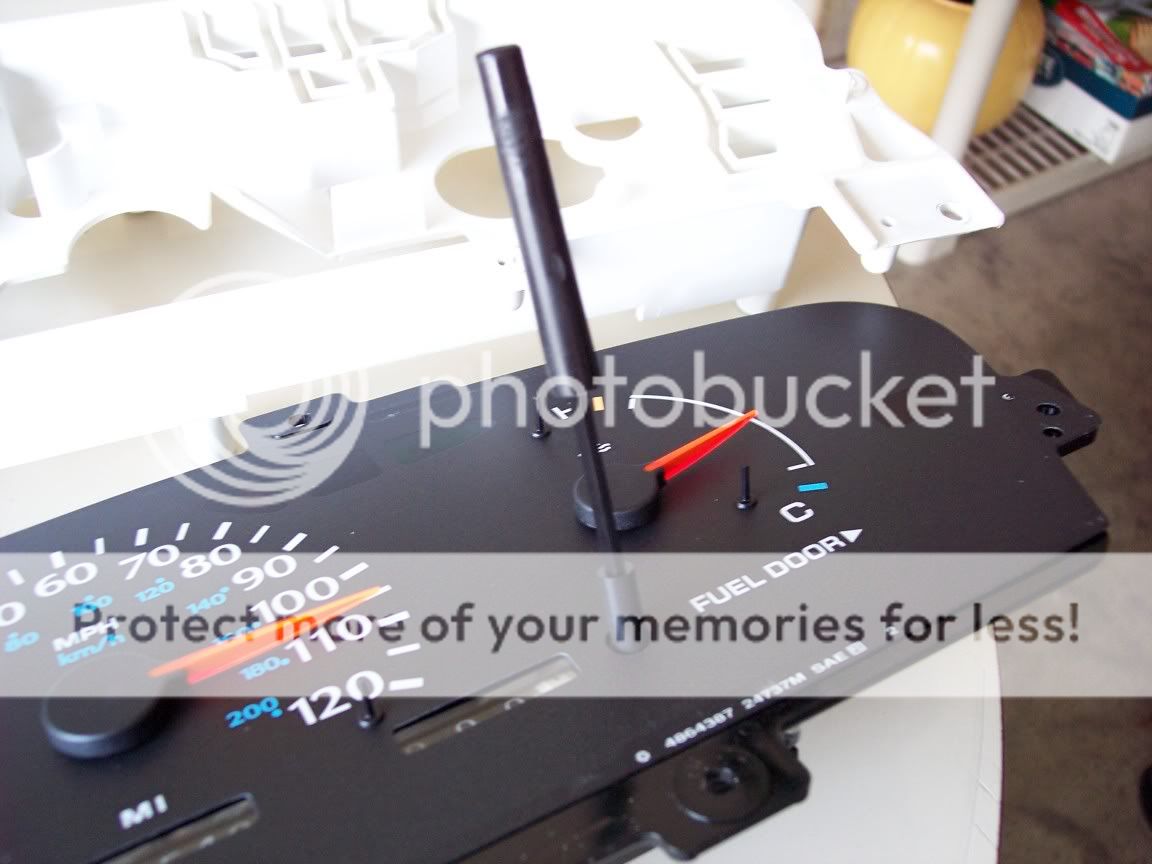
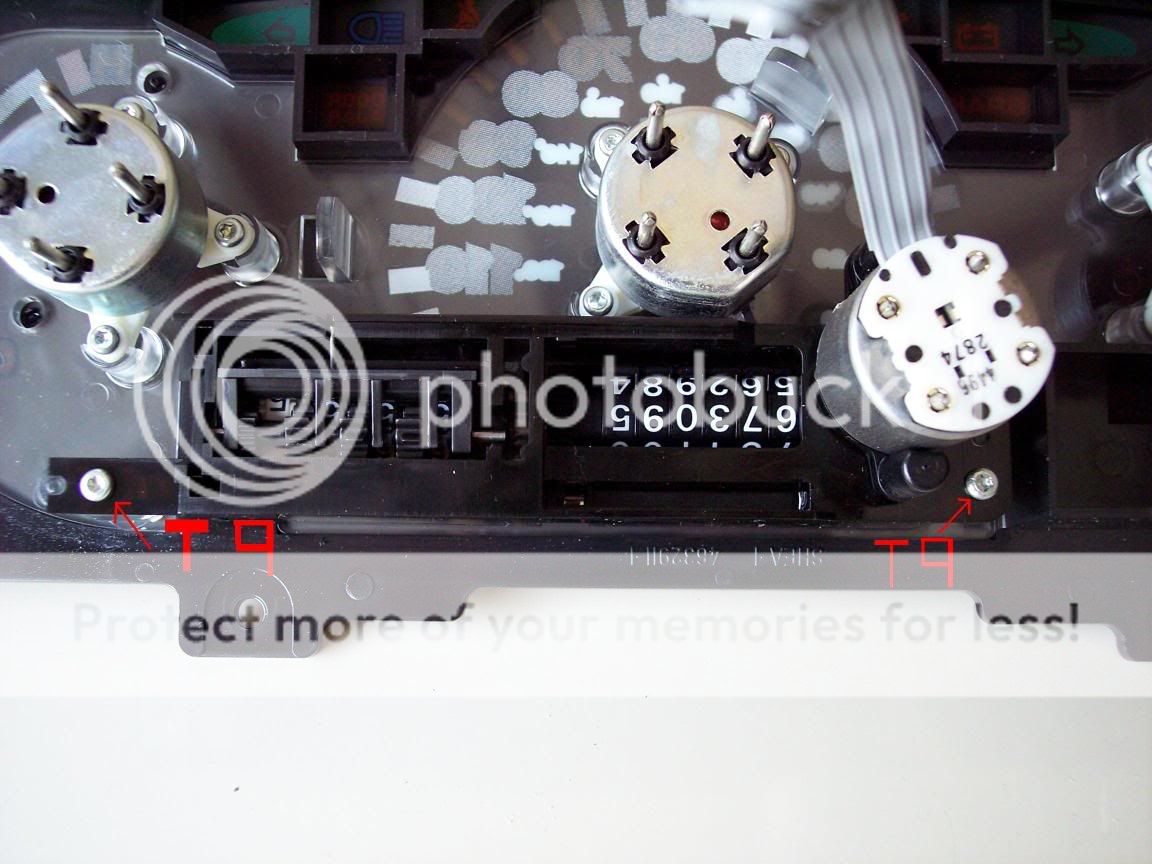
There are two T9 screws holding the odo on in the back. Get a T9 and remove them and it will come off. Just slide it back and it comes out.

Now do the same with your other cluster and remove the odo on your original one and swap it. Your odo will sit in a grove and just screw the odo back on. Now reassemble your cluster in the order you took it apart and pop it back it. When putting back on your circuit board be sure to push down evenly so you don't crack it, and re-connect the gray ribbon for the odo. Hope this helps anyone wanting to swap your odo.