How-To: Installing Electric Oil Pressure and Volt Gauges (Dodge Neon all models should work, inc. SRT)
taken from my original how-to...
http://forum.2gn.org/viewtopic.php?t=18545___________________________________________________
basic tools needed:
16 or 18 gauge wire ( I used 16)
Wire cutters
Sharp pocket knife, or similar item
Female connectors
Some O-ended connectors
Haynes manual (optional for wiring diagrams)
Various Screwdrivers
Pilers or crimpers
Lighter
Heat Shrink Tubing
Scissors
Oil Pressure Gauge Socket
3/8 Tee Connector all females
3/8 to 3/8 connector
3/8 to 1/8 adaptor for sensor
Yellow Tefflon Tape
Time to do it right
___________________________________________________
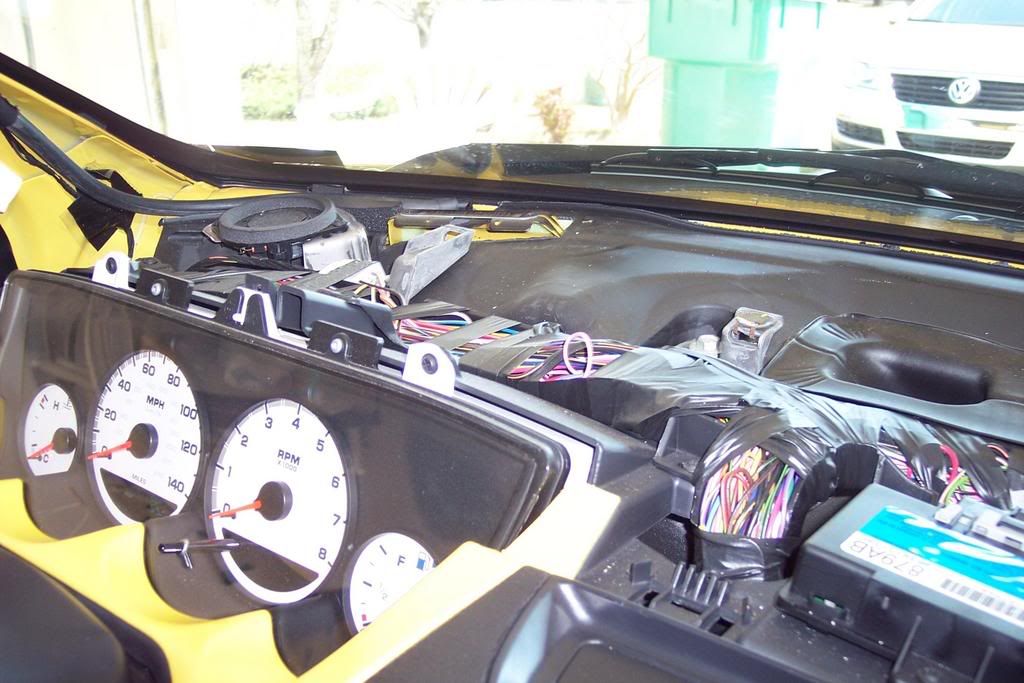
First the A-Pillars need to be removed. Be careful, as I broke a clip on my passenger side one. They just snap off.
Next the dash needs to come off. Four screws total, 2 on the sides, and 2 in the vent on the top.
Remove the dash and set somewhere aside until ready to re-asssemble. I did not have the extra connector as mentioned in another post.
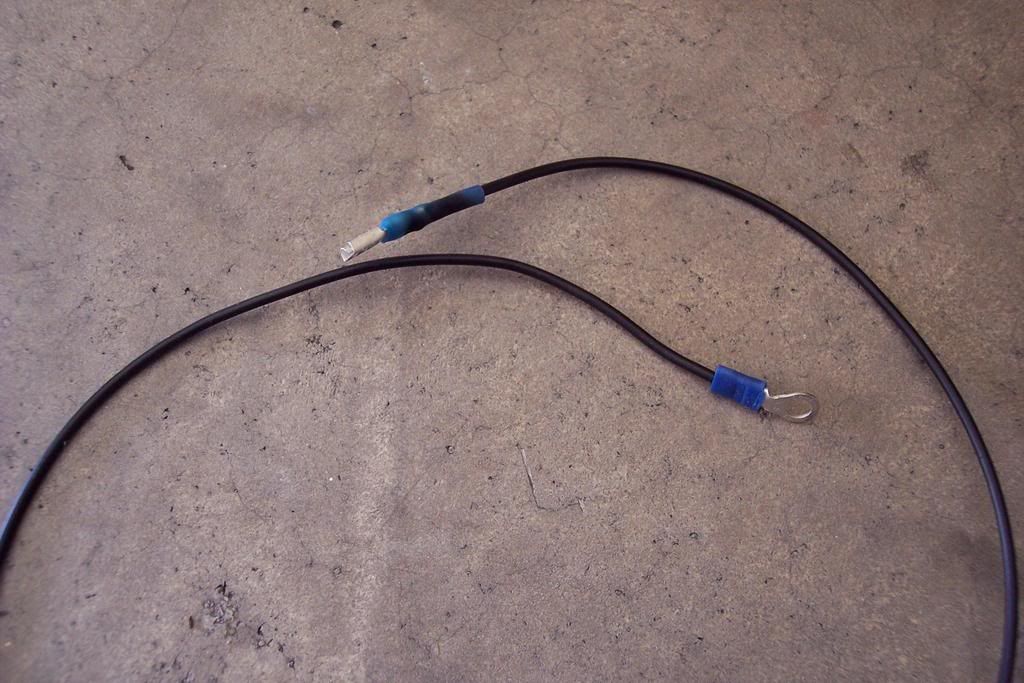
The next few steps can be done in any orders, but is basically all wiring. I first measured and cut all my wires to correct lenghts and put the connectors on all of them.
I used heat shrink connectors from advance auto, and O-ended connectors.
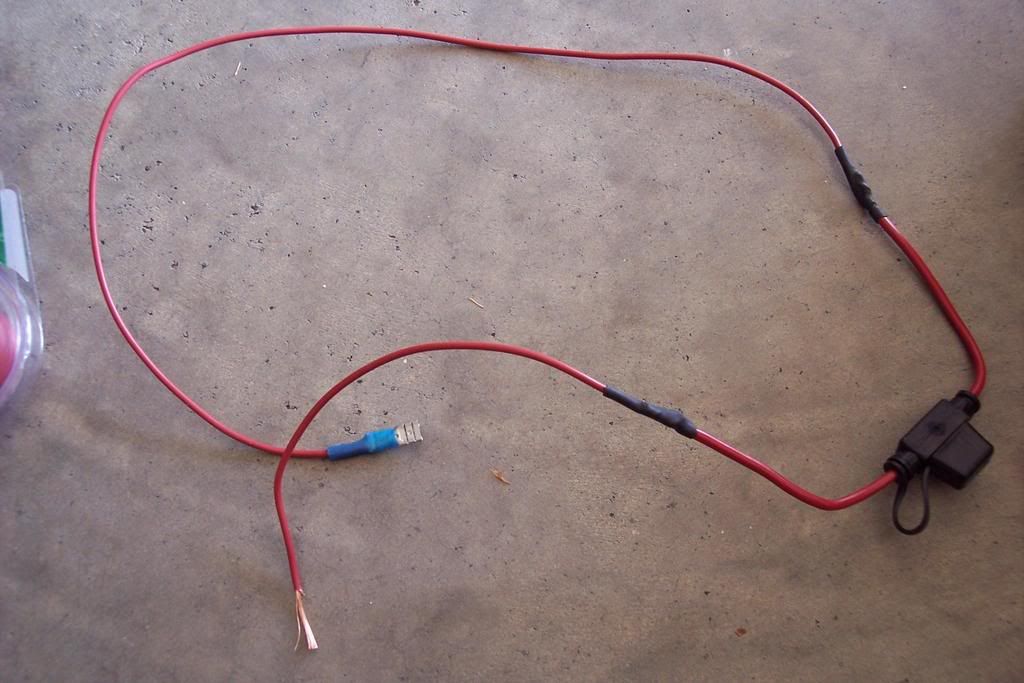
I took some advice from the instructions and installed a 4 amp fuse on the ignition wire for both gauges.
For the gauge lighting, I tapped into the solid orange wire. This wire allows the gauges to be dimmed. (LED's will not dim as much, at least with my Phantom II gauges) I stripped the wire, but not actually severed it.
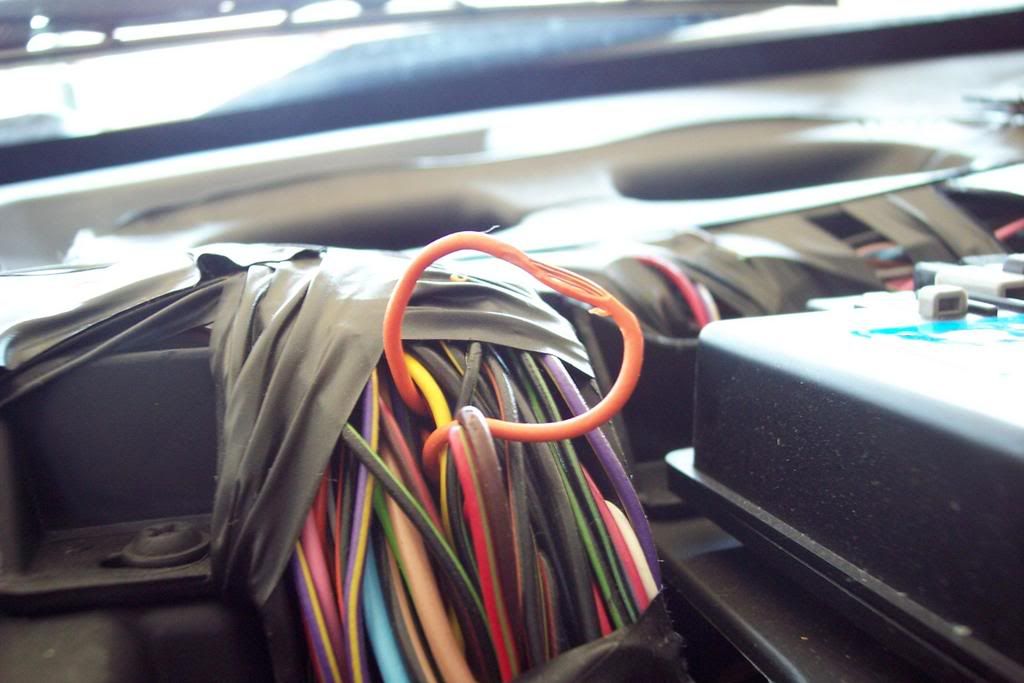
I then wrapped the other wires around it.
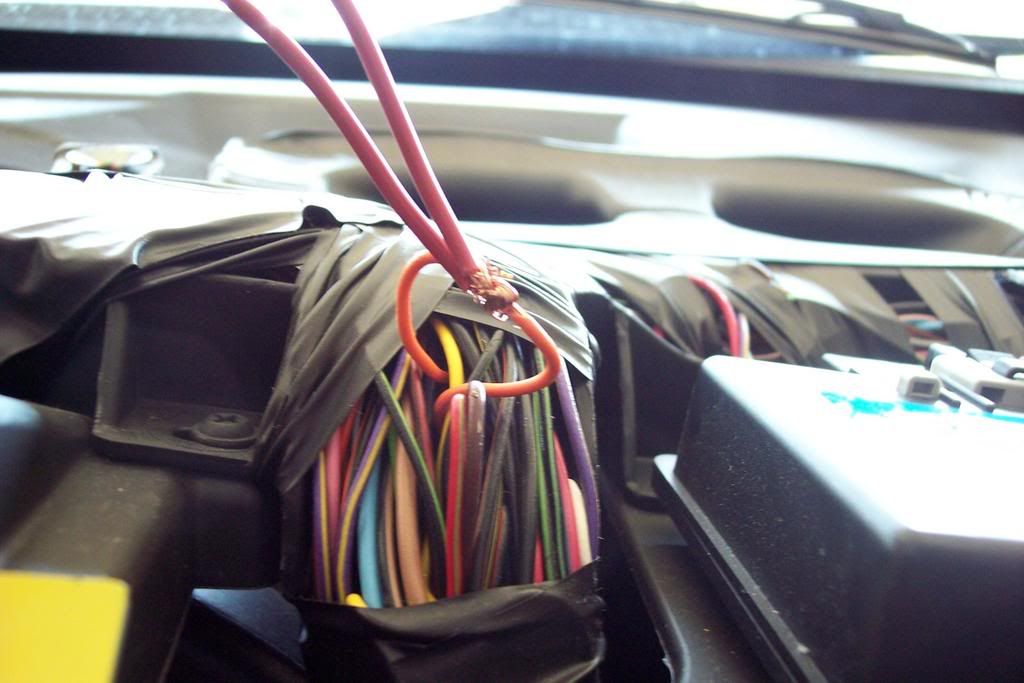
For the oil pressure Ignition On power, I just tapped into the Yellow/Red wire on the top of the dash near the cluster.
For the volt gauge wire, I tapped into the cig. lighter wire, black/small red stripe. This was the closest actual voltage I could find. I tapped into 3 wires with my multimeter and those were all .10 volts lower than the cig. lighter wire. I had to run the wire all the way down to the cig. lighter because I could not find the wire anywhere else but down here (also can't seem to find the cig. lighter in the haynes wiring diagram)
View from back of an electric Phantom II gauge
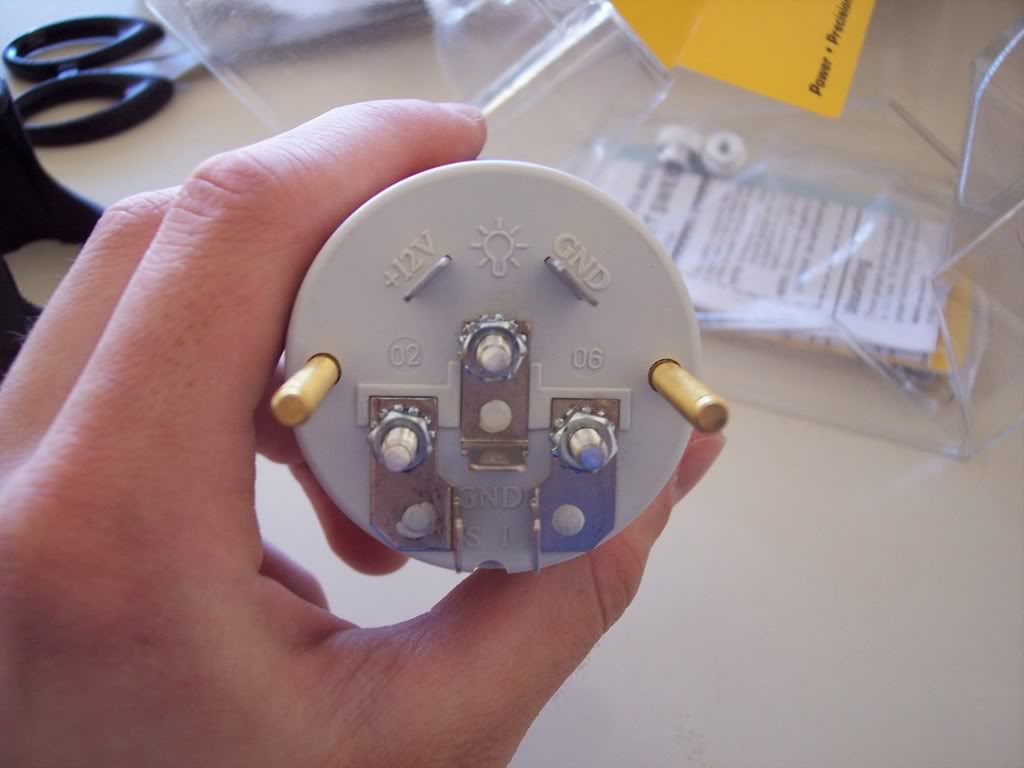
GND for ground, I for Ignition, S for the sender, and then the lighting.
Total I have
2 LED power cables
2 Ignition/Acc on power switches, one for the Oil gauge and one for volts
4 grounds, one for each of the gauges, and the other 2 for the LED lighting grounds (or actual lightbulb)
1 Sender cable to the engine compartment to hook up to the aftermarket oil pressure sender
Lots of wires
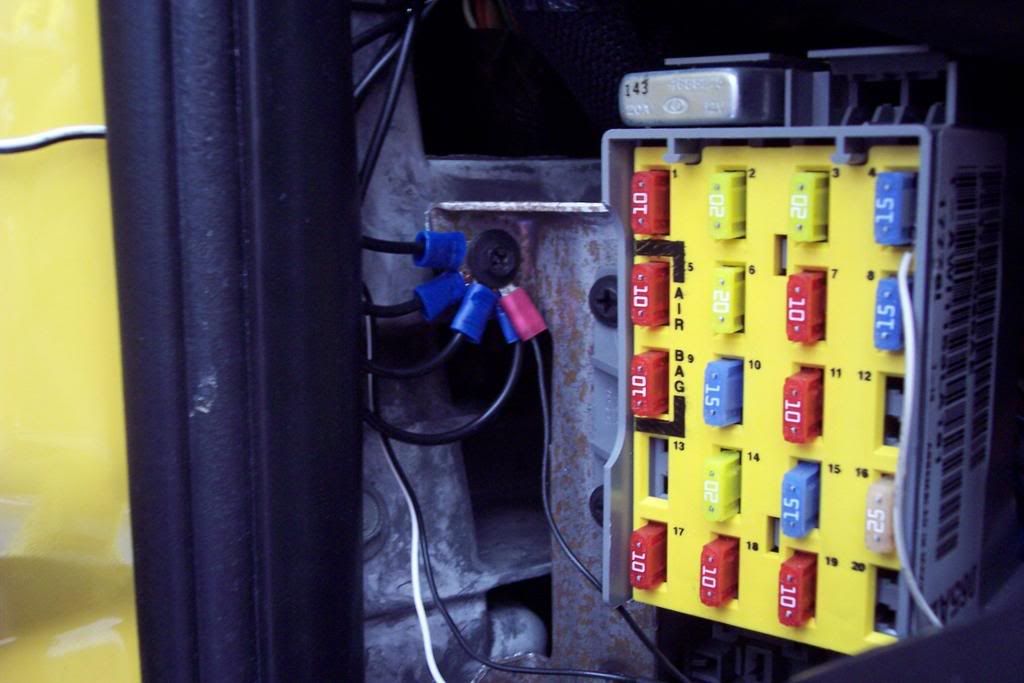
Picture of where I hooked up the grounds by the fuse box
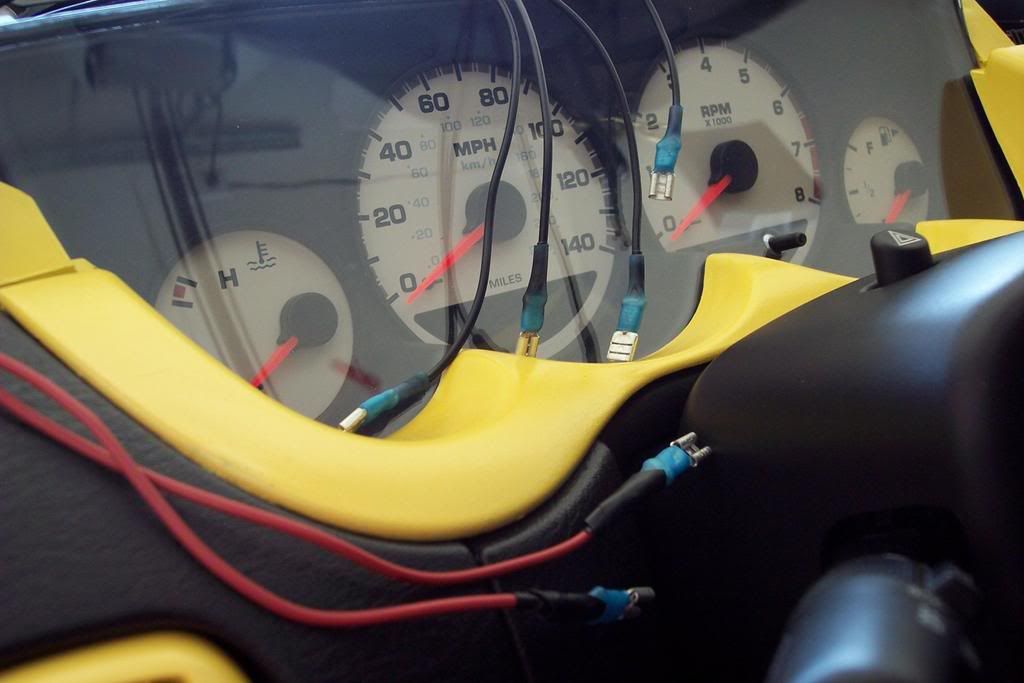
Cleaned up a lil bit, and wires into the pillars once put together. They pull a lil tighter and nicer. Just make sure you have a little slack to work with. (doesn't look "clean" in pics, but wiring is held together and underelectrical tape in stock harness)

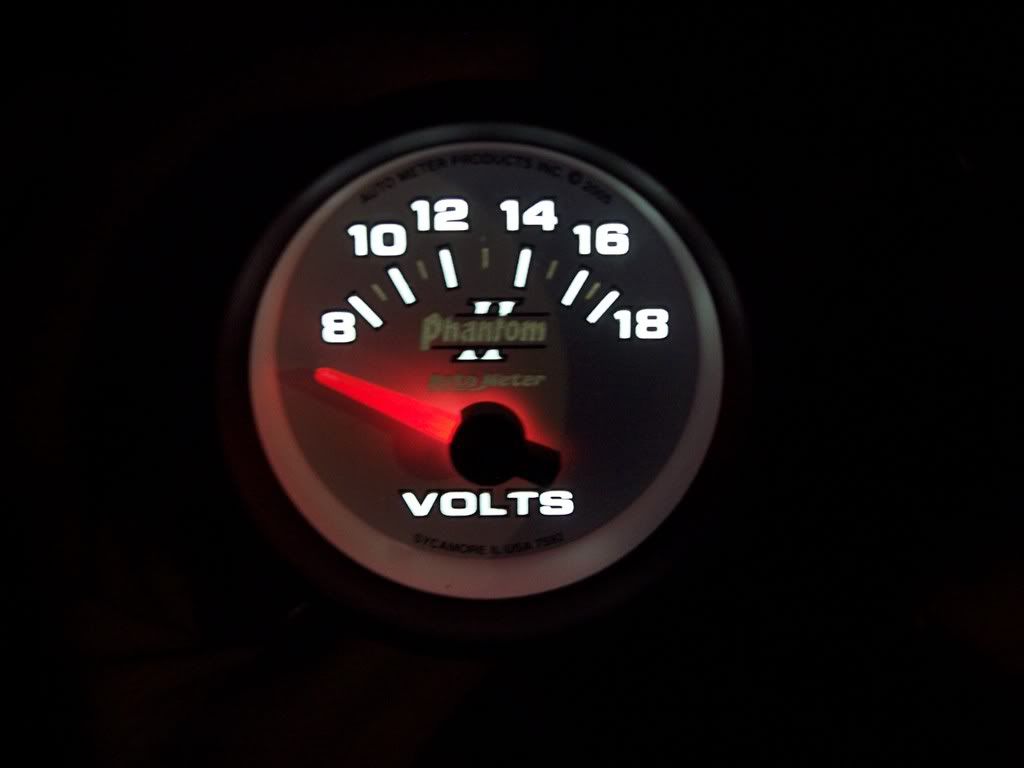
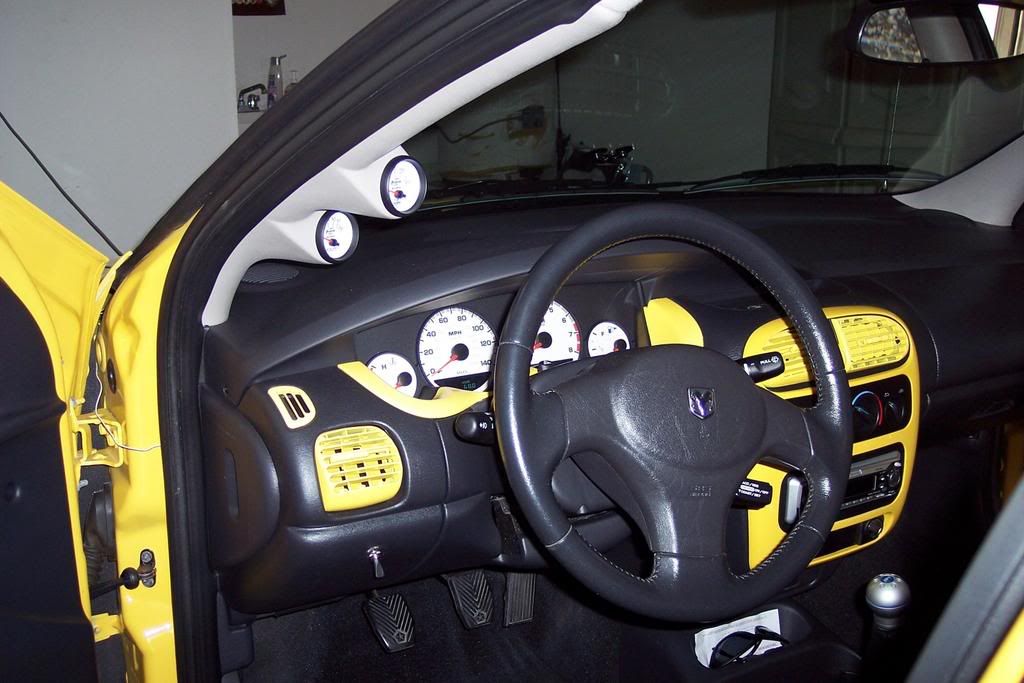
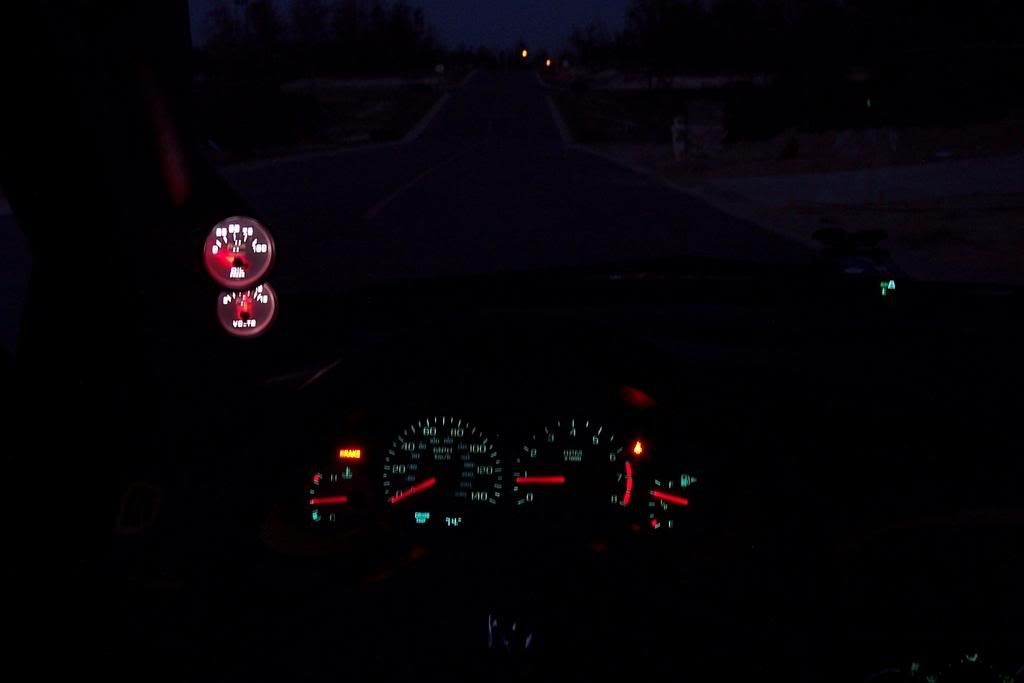
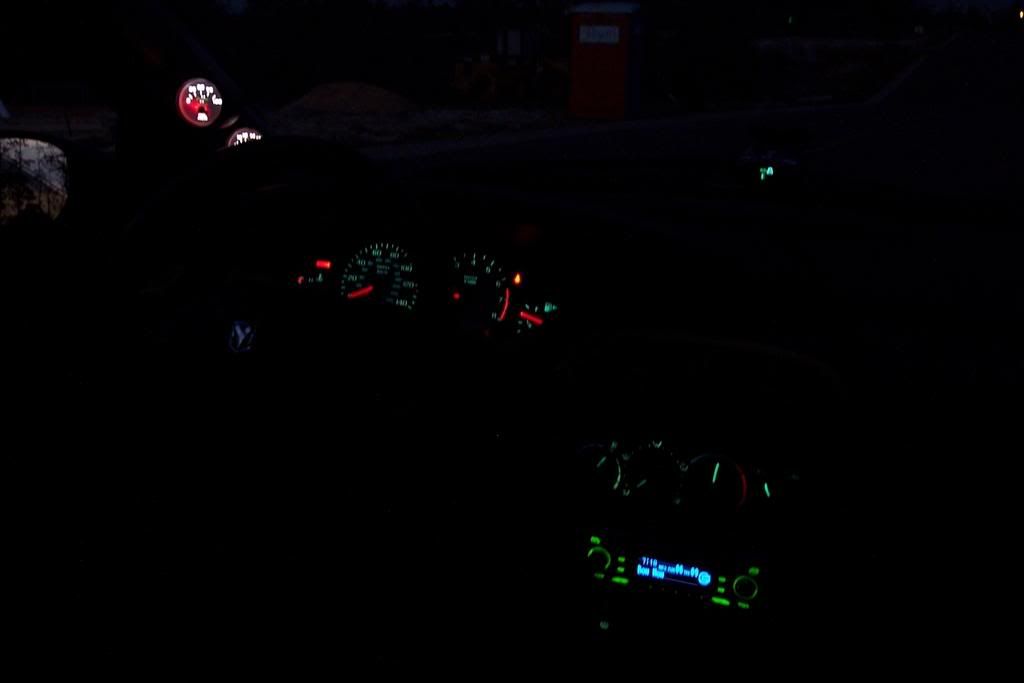
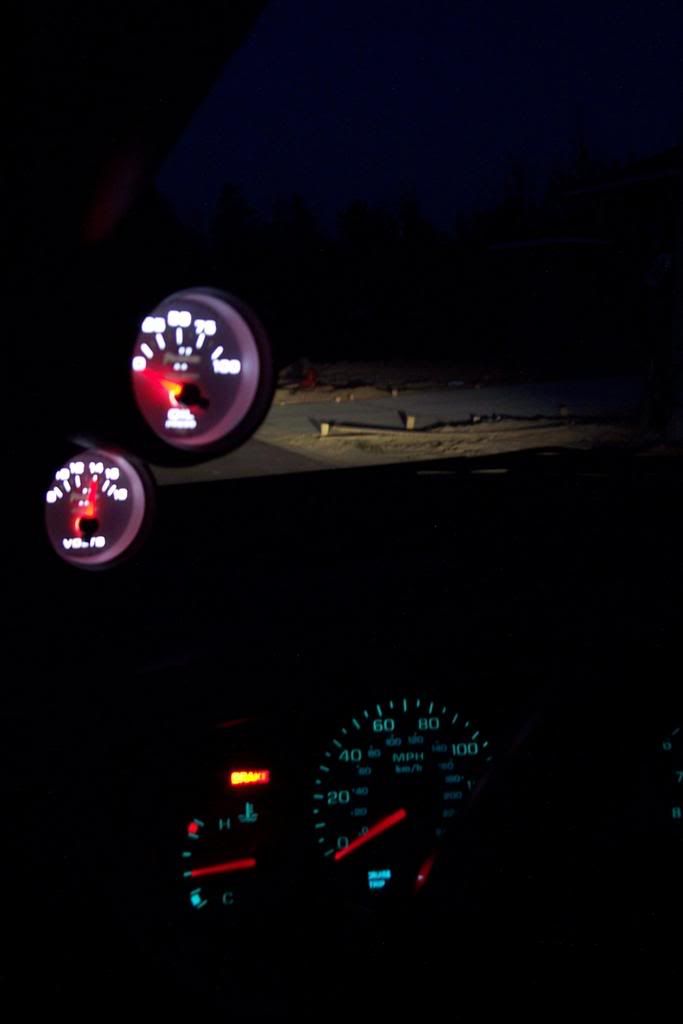
Gauge lit up
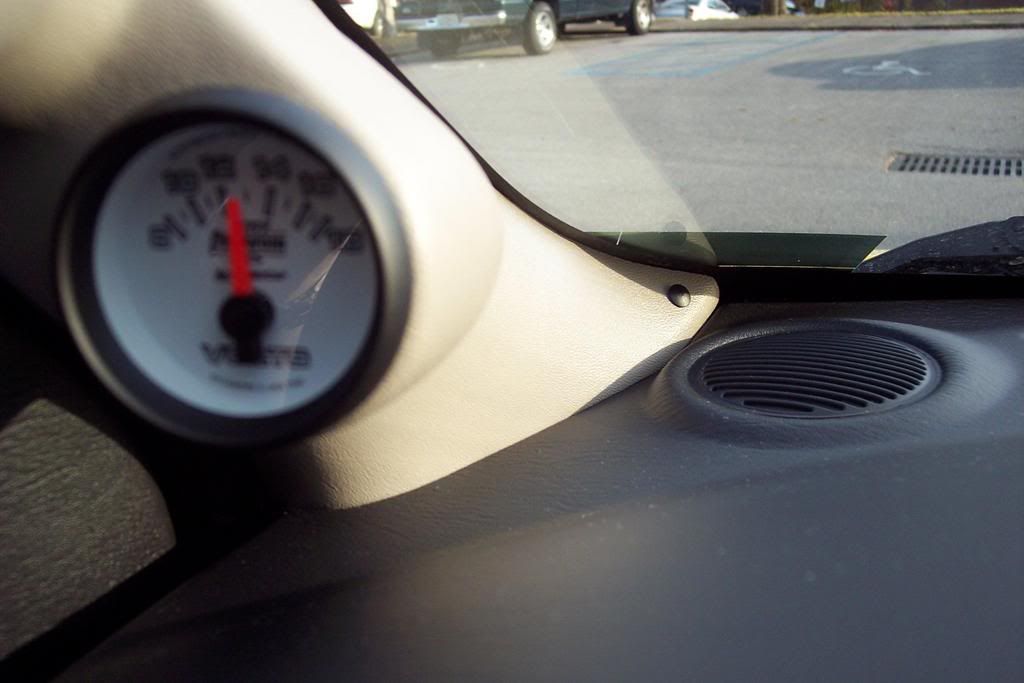
Here you can see 2 of the 4 small platic buttons that old the pillar pod in place. The other two are at the top.
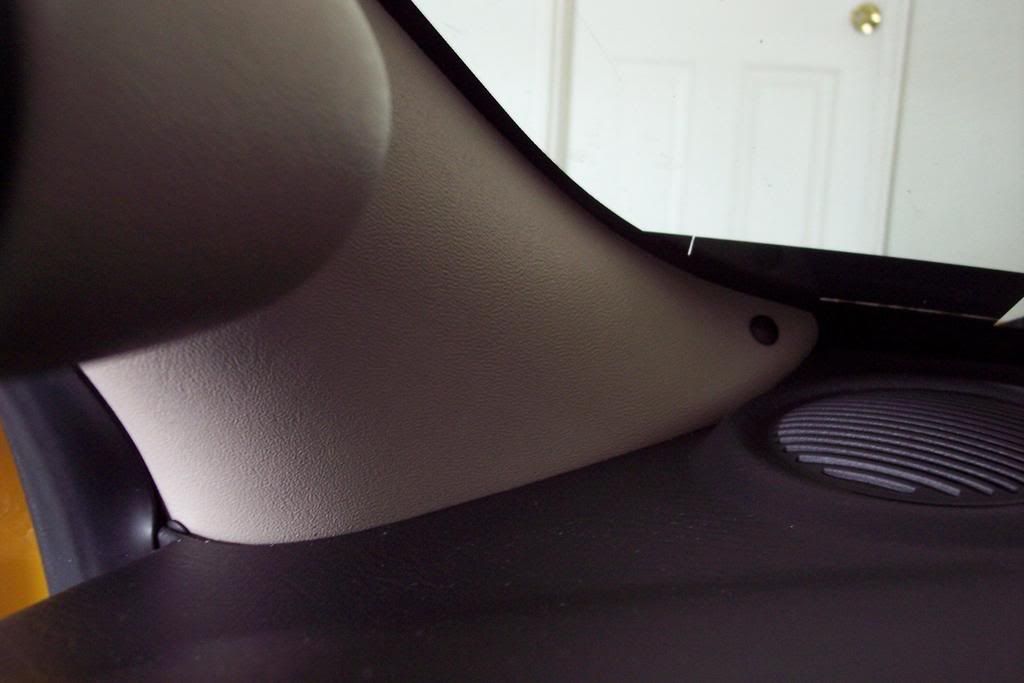
Another view to show how flush it fits
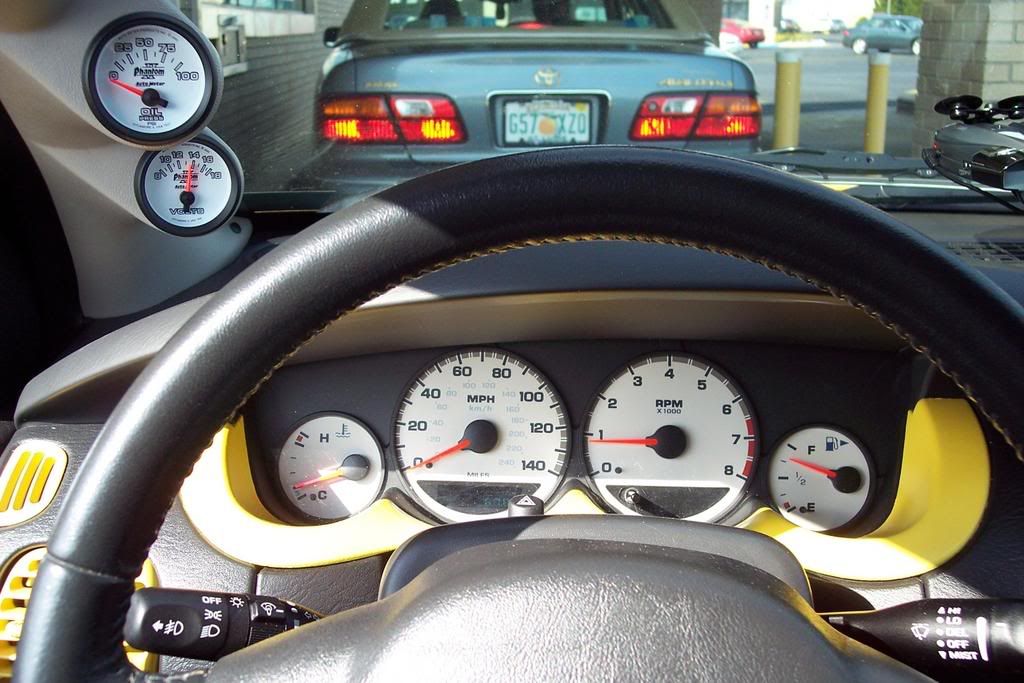
Misc pictures of install. Note my oil gauge sender is not hooked up in these pictures.
Car raised
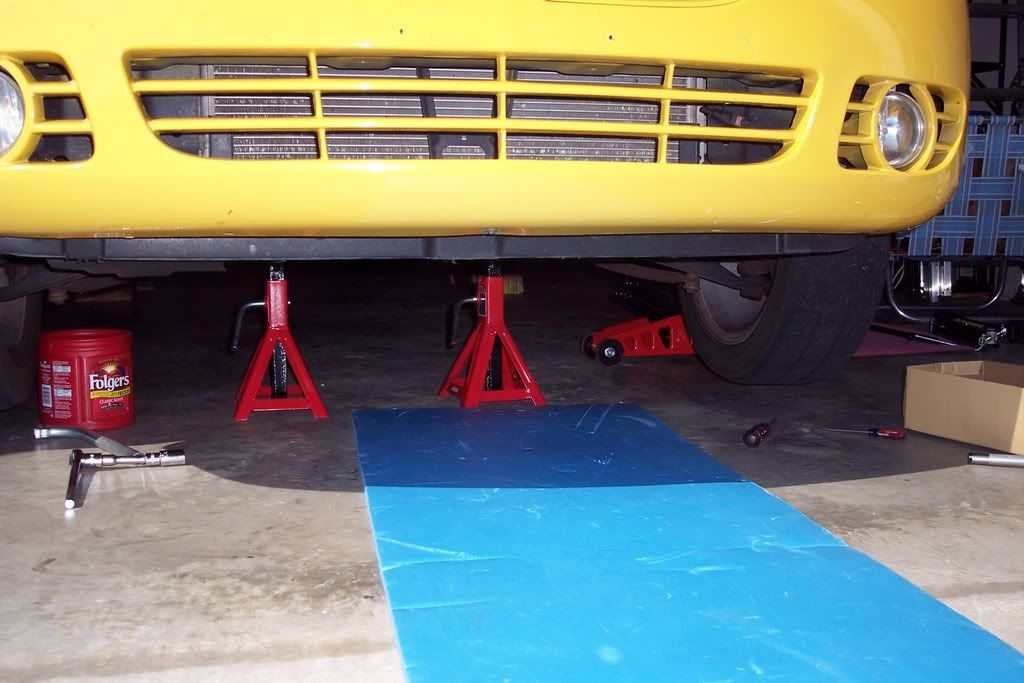
(Folgers was to catch the "cup" of oil that come out when you pull the sensor. To bad mine was only a small dribble)
The wire for the oil pressure sender runs through a grommet in the firewall with all the other wires.
The stock oil sender has a green plug on it (on my 03)
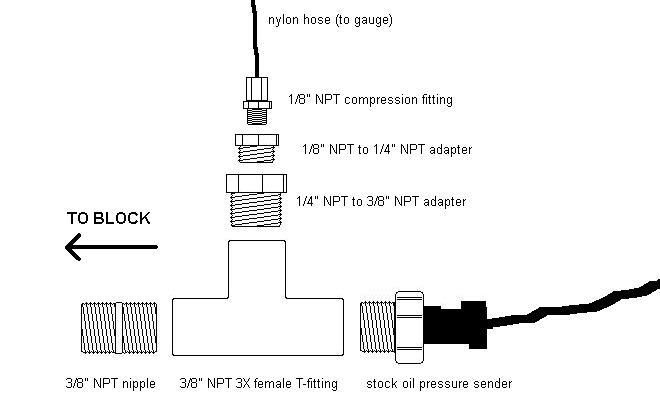
Installing the sender can be a pain. It's not rocket science, but the location makes it hard. First I made sure all my connections are very tight and wrapped with tefflon tape. All of my connections have at least 3 loops.
The first 3/8 to 3/8 I wrapped both sides and screwed it in the block, very tight.
Next I connected the aftermarket sender to the tee fitting. If you do not do this, it will be extremely hard to tighten the Tee to the 3/8 to 3/8 adaptor. Reason for doing this is to use the sender to screw in the Tee.
I then screwed the tee in along with the sender, using the sender to turn it.
Now for the hard part. Getting the Tee facing straight up, you need to put in the stock sensor. First get it as tight as possible with your hand. The you NEED to get an open end wrench big enough and tighten it more. If you don't, you have a high risk of a leak. (talking up to 100 lbs of pressure here) It took me 2 hours just for this one sensor to get it very tight. (had to use adjustible wrench, pain, and also phone ringing about 10 times while under the car. lol)
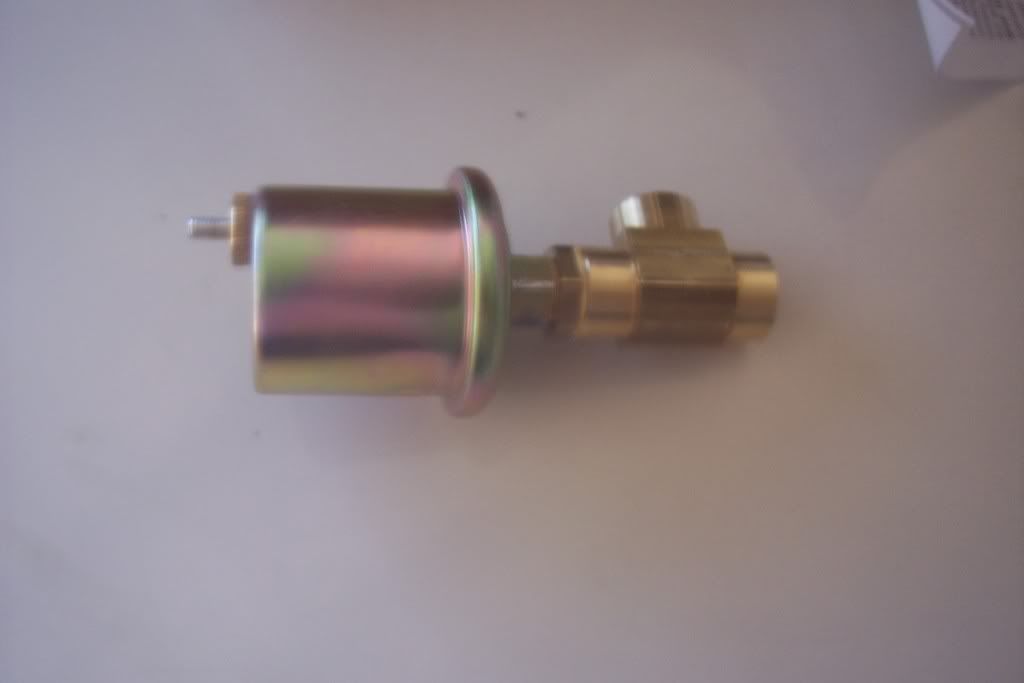
Picture of sender assembled on block, best I could get.
Here is a picture, but instead of the hose going out at the top, the stock sender goes there, and the aftermarket straight out.
NOTE: Not my picture. Credit to Jonnymopar
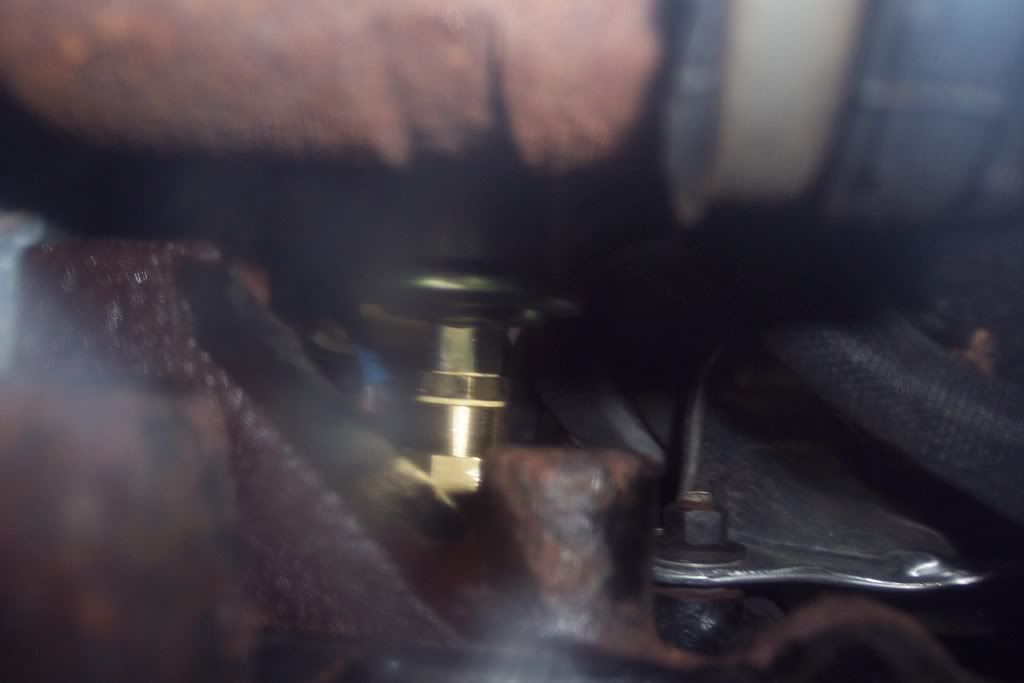
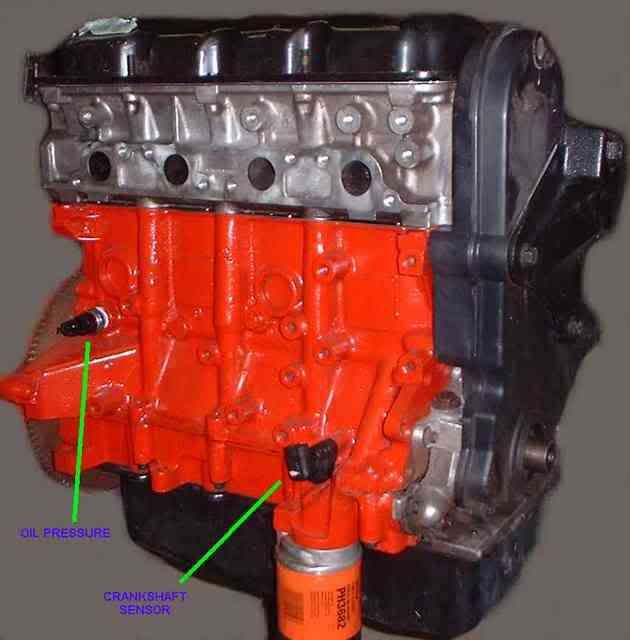
Location of sender:
NOTE: Not my picture. Credit to ???
Once you take an actual look and attempt to tackle this job yourselfs, it really isnt that hard.